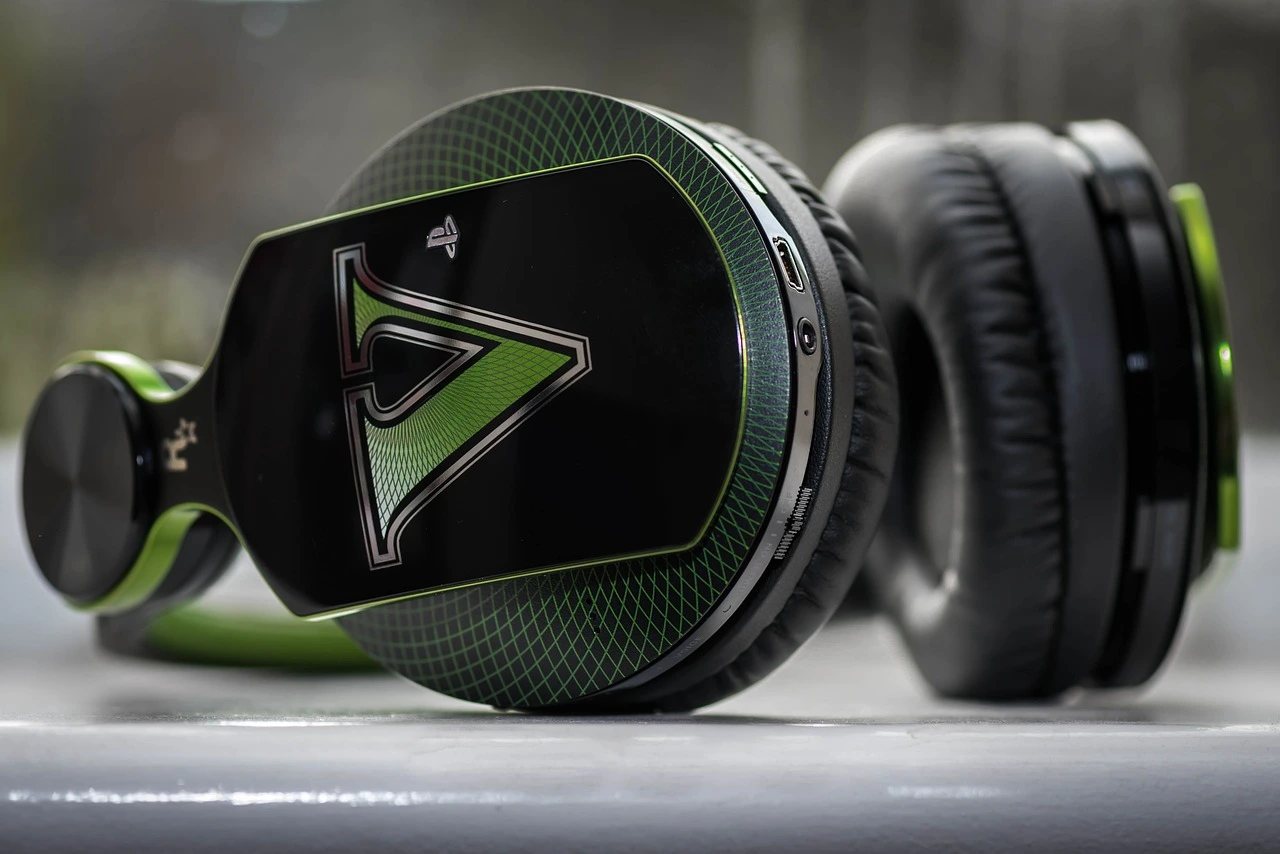
If you’ve ever spent a few hours immersed in a high-intensity game, you’ve probably noticed that your gaming headset can get a little… grungy. Whether it’s from sweat, dirt, or that accidental snack spill, headsets collect grime faster than you can say “lag.” Trust me, I’ve been there. I remember the first time I noticed how filthy my headset had gotten after a long weekend of gaming. I was shocked when I took off the ear cushions and saw how much dust had built up. At that moment, I realized I needed to give my headset some serious attention. Luckily, cleaning it is much easier than I initially thought. Let me take you through the process.
Why Cleaning Your Gaming Headset Matters
I’ll be honest, I didn’t really think cleaning my headset was essential at first. After all, it was just a piece of tech that got a little dirty, right? Wrong. After months of neglecting to clean my headset, I started noticing things like muffled sound quality and, worse, skin irritation from all the grime that had built up on the ear cushions. Plus, I could never quite get rid of the smell of stale sweat. Eventually, I learned that regular cleaning not only improves the sound and comfort of your headset but can also help extend its lifespan.
Here’s the deal: Headsets are in close contact with our skin and hair. Over time, oils, dirt, sweat, and bacteria accumulate, especially on the ear cushions. I even noticed that my ear pads were starting to feel stiff and uncomfortable. So, taking care of it by cleaning it frequently makes your gaming experience better and healthier.
Gather Your Cleaning Supplies
Before I started cleaning my headset, I realized I needed to gather the right materials. The first time I tried to clean it, I didn’t have the proper tools, and let me tell you, that did not go well. I was using a regular paper towel and hoping for the best. Spoiler alert: It was a mess. So, now, I’m much more prepared. Here’s what you’ll need:
- Microfiber Cloth: This is key. You don’t want anything abrasive that will scratch or damage your headset, and a microfiber cloth is gentle yet effective.
- Mild Dish Soap: I always use mild soap mixed with warm water to avoid damaging the materials. Harsh chemicals can wear down the cushioning over time, so I stick to something gentle.
- Warm Water: It’s essential to use warm water when cleaning, as it helps dissolve grime and dirt.
- Soft-Bristled Brush or Toothbrush: For those hard-to-reach spots, like the spaces between buttons or along the edges of the ear cups, a soft brush does the trick.
- Cotton Swabs (Q-tips): These are great for cleaning smaller parts and crevices that you can’t reach easily with a cloth.
- Rubbing Alcohol: I use a bit of rubbing alcohol for disinfecting and removing stubborn stains, but I’m careful not to overdo it, as too much moisture can damage the headset.
- Towel or Drying Rack: After cleaning, you’ll want to dry your headset thoroughly. I usually lay it on a towel or use a drying rack for a quick, hassle-free air dry.
I learned the hard way that using the wrong materials or not drying everything properly can lead to moisture issues. It’s something I won’t forget.
Step-by-Step Cleaning Process
Now that I’ve got everything ready, it’s time to get down to business. Here’s the step-by-step guide I follow to keep my headset looking and feeling fresh.
1. Disassemble Your Headset (If Possible)
The first time I cleaned my headset, I didn’t detach the ear cushions, and I ended up with cleaning residue all over the place. So, now, I always make sure to carefully remove the ear cushions and, if detachable, the microphone. This allows me to clean each component more effectively and prevents moisture from damaging the sensitive electronics inside. Be sure to check your headset’s manual for any disassembly instructions.
2. Clean the Ear Cushions
I’ve had a couple of headsets with fabric ear cushions and some with leather or leatherette ones. I’ve found that fabric cushions can be a little trickier, but it’s not impossible. For fabric cushions, I create a soapy solution with a mild dish soap and warm water. Then, I dip a microfiber cloth into the mixture and gently wipe down the cushions. After a good scrub, I let them air dry for a few hours. I also learned to never put them in the dryer or use too much water – they can lose their shape and texture.
For leather ear cushions, I’m extra careful. I don’t want to risk ruining the material, so I only use a damp cloth to wipe them down. If needed, I add a drop of leather conditioner afterward to keep them soft and prevent cracks. Trust me, it makes a big difference in how they feel on your ears.
3. Clean the Headband
I almost skipped cleaning the headband at first – it seemed like such a small detail. But after I took a closer look, I realized it can get just as dirty as the rest of the headset. I use the same mild soapy solution on a microfiber cloth and gently wipe the headband. If it’s leather, I’ll treat it with a leather cleaner to keep it from becoming stiff or cracked. Cleaning the headband might seem minor, but it makes the headset feel brand new again.
4. Clean the Microphone
One of the hardest parts to clean is the microphone, especially if you have a detachable one. I’ll admit, I didn’t realize how much gunk builds up around the mic until I took a cotton swab dipped in rubbing alcohol and gave it a proper clean. Now, I use cotton swabs regularly to clean the mic and its foam cover. If your microphone is detachable, remove it and clean it separately, but make sure to let it dry before reattaching it. I also like to wipe down the microphone grill with a microfiber cloth to keep the sound crisp.
5. Clean the Headset Exterior
Next, I gently wipe the entire headset down with a microfiber cloth. This includes the ear cups and any buttons or other small areas that could collect dust or dirt. I also use a soft-bristled brush for small crevices around buttons, volume dials, and other parts where dirt tends to gather. At first, I wasn’t as meticulous with cleaning these areas, but now I make sure every inch of the headset gets attention.
6. Dry All Components
This step is crucial. I can’t stress enough how important it is to allow the components to dry completely before reassembling. I’ve had a few instances where I was in a rush, and the headset wasn’t fully dry, leading to moisture getting into the electronics. That’s a mistake you don’t want to repeat. I always leave the parts to air dry for several hours or overnight.
Additional Tips for Keeping Your Headset Clean
I’ve picked up a few additional tricks over the years. After each gaming session, I make it a habit to quickly wipe down the ear cushions with a clean microfiber cloth. It doesn’t take much time, and it helps prevent dirt from accumulating.
Another tip is to store your headset properly. When not in use, I always keep my headset in a case or hang it up in a clean, dry space. This prevents dust and dirt from settling on it when it’s not being used.
Conclusion
In the end, cleaning your gaming headset is a simple but necessary task. Over time, I’ve learned that taking a little extra care in maintaining my headset goes a long way in ensuring that it performs well, feels comfortable, and lasts longer. Whether you’re cleaning after a gaming marathon or just giving it a routine checkup, a clean headset makes for a better experience. So, take the time to clean your headset – you won’t regret it. And hey, your ears will thank you too! Happy gaming!

